12.11.2017, 11:36
Hi. This tutorial will tell you how to quickly and effortlessly create the collision object. All actions will be carried out in 3ds Max 2018. In earlier versions, all the same.
To create a collision you will need a Kam's scripts.
To create a collision you will need a Kam's scripts.
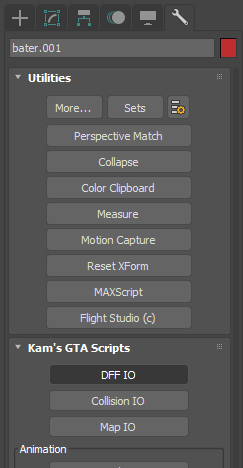
- Select the desired file. You can import the usual way, in 3ds format, if the object was creating in a different editor, for example, in Blender, or import a dff file using Kam's scripts. In the tab "Utilities" on the "DFF IO" button. Select the "Import DFF".
 ***
***
- Select the object and convert in "Editable Poly".

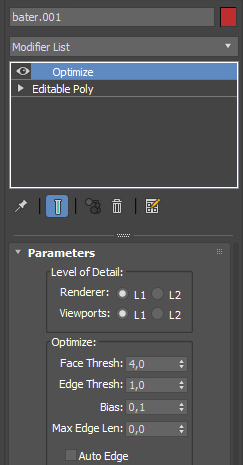
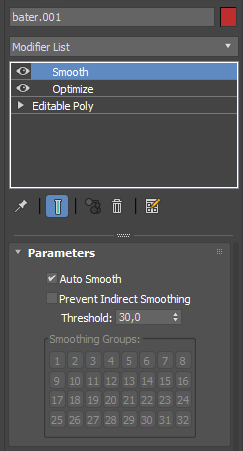
- Add 2 modifiers: "Optimize" and "Smooth".
• Optimize - allows to reduce the number of polygons (configurable in the "Face Thresh" and "Bias")
• Smooth - smoothes the object (select automatically)
 ***
***
- Again convert the object in "Editable Poly".

- Go to the tab "Hierarchy", select "Affect Pivot Only" and "Center To Object".
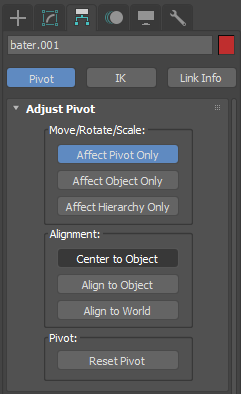
- Go to the tab "Create" to the button "Select and Move" and move the object to the center. Equate to zero all the values in the all fields on the need position.
 ***
*** ***
***
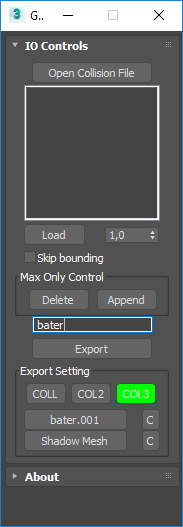
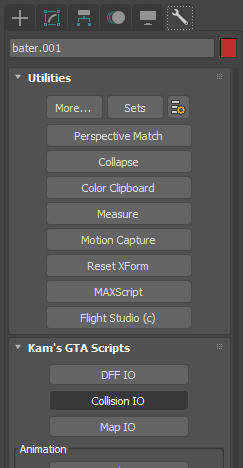
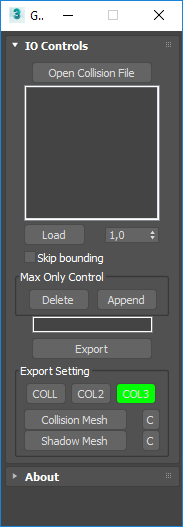
- Go to the tab "Utilities" and select "Collision IO". Click "Collision Mesh" and click on our object (the button shows the name of the object). Next in the box above the button "Export" enter the name. It should be identical to the name of the dff file. Export and specify the same name.
 ***
*** ***
***